
はじめに
VSCodeの拡張機能を作成したくなったので、作成方法を調べました。手順を備忘として残します。
環境
Windows/Node.js/VSCode
作成する拡張機能
Markdownで記述した内容を隣のウィンドウで描画するような機能(Preview)を実装します。
実装手順
Node.jsをインストール
公式サイトからNode.jsをインストールします。

今回はDocker経由ではなく、インストーラー経由でインストールしました。
npm –versionでパスが通っているか確認します。
npm --version
11.6.2
各種ファイルを作成
ファイル構成
tree /f
vscode-preview-sample/
│ package.json
│ tsconfig.json
│
├─src/
│     extension.ts
│
├─media/
│     index.html
│
└─.vscode/
      launch.json
package.json
VSCode拡張のメタ情報とコマンド、起動イベント、依存関係などを定義するファイル。拡張機能の名前・バージョン・コマンド登録・スクリプト類など、実行時・ビルド時の挙動を指定します。
{
  "name": "vscode-preveiw",
  "version": "0.0.1",
  "engines": {
    "vscode": "^1.85.0"
  },
  "categories": [
    "Other"
  ],
  "activationEvents": [
    "onCommand:sample.openPreview"
  ],
  "main": "./dist/extension.js",
  "contributes": {
    "commands": [
      {
        "command": "sample.openPreview",
        "title": "sample: Open Preview"
      }
    ]
  },
  "scripts": {
    "compile": "tsc -p ./",
    "watch": "tsc -watch -p ./"
  },
  "devDependencies": {
    "@types/vscode": "^1.107.0",
    "tslib": "^2.8.1",
    "typescript": "^5.9.3"
  }
}
tsconfig.json
TypeScriptコンパイラの設定を規定するファイル。ソースのトランスパイル対象や出力ディレクトリ、型チェックの厳格さを管理します。
{
  "compilerOptions": {
    "module": "commonjs",
    "target": "es2020",
    "outDir": "dist",
    "lib": ["es2020"],
    "sourceMap": true,
    "rootDir": "src",
    "strict": true
  }
}
index.html
Webviewの表示コンテンツ (HTML) を定義するファイル。エディタ横に表示するUIの構造(HTML・スクリプト・スタイル)を提供します。
<!-- 空のままでOK -->extension.ts
拡張機能本体のロジックを実装するエントリポイント。VSCode API (vscode) を使い、コマンド登録・Webview生成・イベントハンドラの実装などを担います。
import * as vscode from 'vscode';

export function activate(context: vscode.ExtensionContext) {
  const disposable = vscode.commands.registerCommand(
    'sample.openPreview',
    () => {
      const panel = vscode.window.createWebviewPanel(
        'samplePreview',
        'Sample Preview',
        vscode.ViewColumn.Beside,
        {
          enableScripts: true
        }
      );

      const html = getWebviewContent();
      panel.webview.html = html;

      // エディタの変更を監視
      vscode.workspace.onDidChangeTextDocument(event => {
        const text = event.document.getText();
        panel.webview.postMessage({ type: 'update', text });
      });

      // 初回ロード時に現在のテキストを送る
      const editor = vscode.window.activeTextEditor;
      if (editor) {
        panel.webview.postMessage({
          type: 'update',
          text: editor.document.getText()
        });
      }
    }
  );

  context.subscriptions.push(disposable);
}

function getWebviewContent(): string {
  return `
<!DOCTYPE html>
<html>
<head>
<meta charset="UTF-8" />
<style>
  body { font-family: sans-serif; padding: 0; margin: 0; }
  #sample { width: 100%; height: 100vh; }
</style>
</head>
<body>
  <div id="sample">Loading...</div>

  <script>
    window.addEventListener('message', event => {
      const { type, text } = event.data;
      if (type === 'update') {
        document.getElementById('sample').innerText = text;
      }
    });
  </script>
</body>
</html>
`;
}
launch.json
VSCode内で拡張機能のデバッグ実行を制御する設定ファイル。後述する「Extension Development Host」を起動し、デバッグ環境するための設定が含まれます。
{
  "version": "0.2.0",
  "configurations": [
    {
      "name": "Run Extension",
      "type": "extensionHost",
      "request": "launch",
      "runtimeExecutable": "${execPath}",
      "args": [
        "--extensionDevelopmentPath=${workspaceFolder}"
      ],
      "outFiles": [
        "${workspaceFolder}/dist/**/*.js"
      ]
    }
  ]
}
コンパイル
下記コマンドを実行してビルドします。
npm install
npm run compile
Extension Development Hostを起動
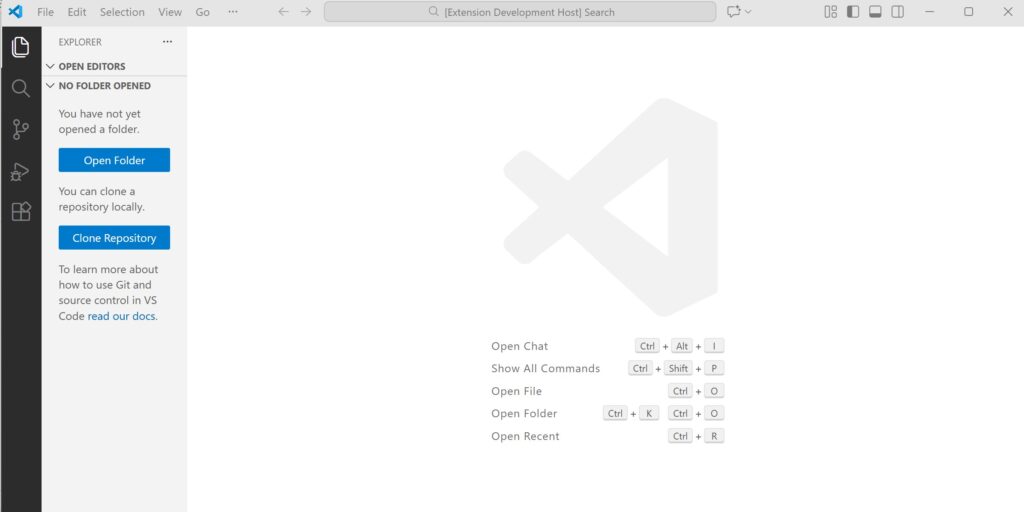
F5を押すと、拡張機能開発用のウィンドウが立ち上がります。
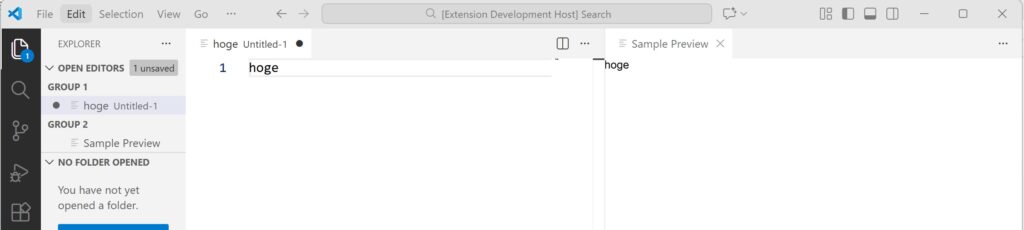
適当なファイルを開いて、コマンドパレットを起動→「sample: Open Preview」を実行します。

ファイルに適当な文字を入力すると、Preview画面にも同じ記述が表示されるようになりました。
vsixファイルを作成
作成した拡張機能を配布するためにvsixファイルを作成します。Marketplaceでの公開はしないです。
下記コマンドでvsceをnpmでインストールします。
npm install -g @vscode/vscevsixファイルを作成します。
vsce package
# vscode-preview-sample-0.0.1.vsixが生成される
これで、VSCodeの「EXTENSIONS」→「…」→「Install from VSIX…」からインストール可能になりました。
まとめ
VSCodeで拡張機能を作成しました。このサンプルをベースにツール実装を進めていきます。

コメント